

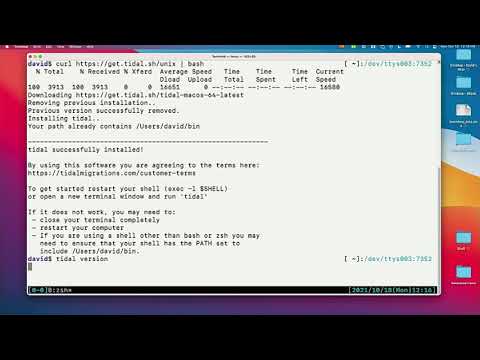
This Tech Talk shows how to install Tidal Tools on macOS and confirm the CLI is ready for migration workflows.
What you will learn
- Install Tidal Tools on macOS from the official install instructions
- Verify the CLI is available after install
- Use Tidal Tools as the starting point for discovery workflows
Transcript
This walkthrough shows how to install Tidal Tools on macOS, including Intel and Apple silicon Macs.
Install the CLI
Open the Tidal Tools install page at get.tidal.sh. Scroll to the quick installer and copy the curl one-liner. Offline installers are also available if you need a specific architecture package.
Open Terminal (Spotlight with Command-Space works well), paste the installer command, and press Enter. The installer downloads the correct build for your Mac and replaces any previous version.
Confirm success by running tidal and checking that the latest version is reported.
Verify prerequisites
Run tidal doctor to review prerequisites. A first-time machine may show that you are not logged in yet, that Docker is not running, or that optional DNS and vSphere integrations are unused.
If you plan to run source-code or database analysis workflows, install Docker Desktop (or another Docker engine) on macOS and start it. When Docker is running, those doctor checks can pass and you can continue with discovery and assessment work from the Mac CLI.